Creating a user/driver in NextGen
Step-by-Step guide
STEP 1:
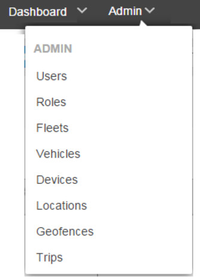
Whilst in NextGen, Go to Admin>Users
STEP 2:
Select "Add New User" from the top right hand corner, or "Edit" an existing driver by clicking on the corresponding edit icon from the driver you wish to edit.
STEP 3:
Fill in the desired fields including the email address. If the user does not have an email address, create a false one (username@yourcompany.com)
The email address is primarily used for password recovery.
STEP 4:
Follow the User setup steps (tabs) to determine the level of access.
If a driver is being added, change the user type to "driver" and fill in their license details.
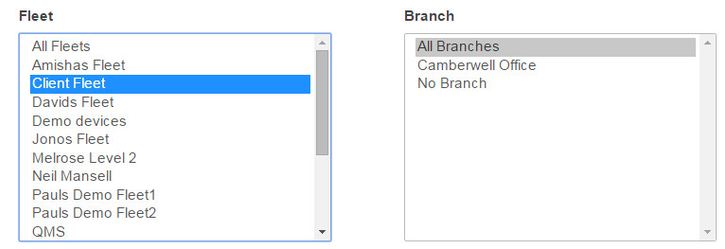
Click on Step 2 & 3 to assign the drivers "Role", and also the fleet or branch they belong too.
If you assign a user/driver to a fleet/branch, they will not have access outside of that fleet/branch.
Click on "Register" or "Update" to save.
STEP 5:
If creating a new driver, ensure you add the correct rule set to the driver.
This is done by viewing the particular driver (Admin>Users>), then selecting the rule set that applies.
STEP 6:
Watch the below tutorial video which demonstrates step by step instructions.
User Creation
Driver creation
Related articles


