NextGen Roles
NextGen requires users to login in, in order to use the various system features. Login is controlled by username and password.
Each user is created in NextGen by the cusotmers "Admin" person that has the highest credentials to undertake this task.
The admin user can create users and at the same time assign "access roles" which determine what each user is allowed access to.
The below excel file lists the various permissions each user role has by default. (Note these can be further customized by the client company if required. Speak to our cusotmer support team for further details).
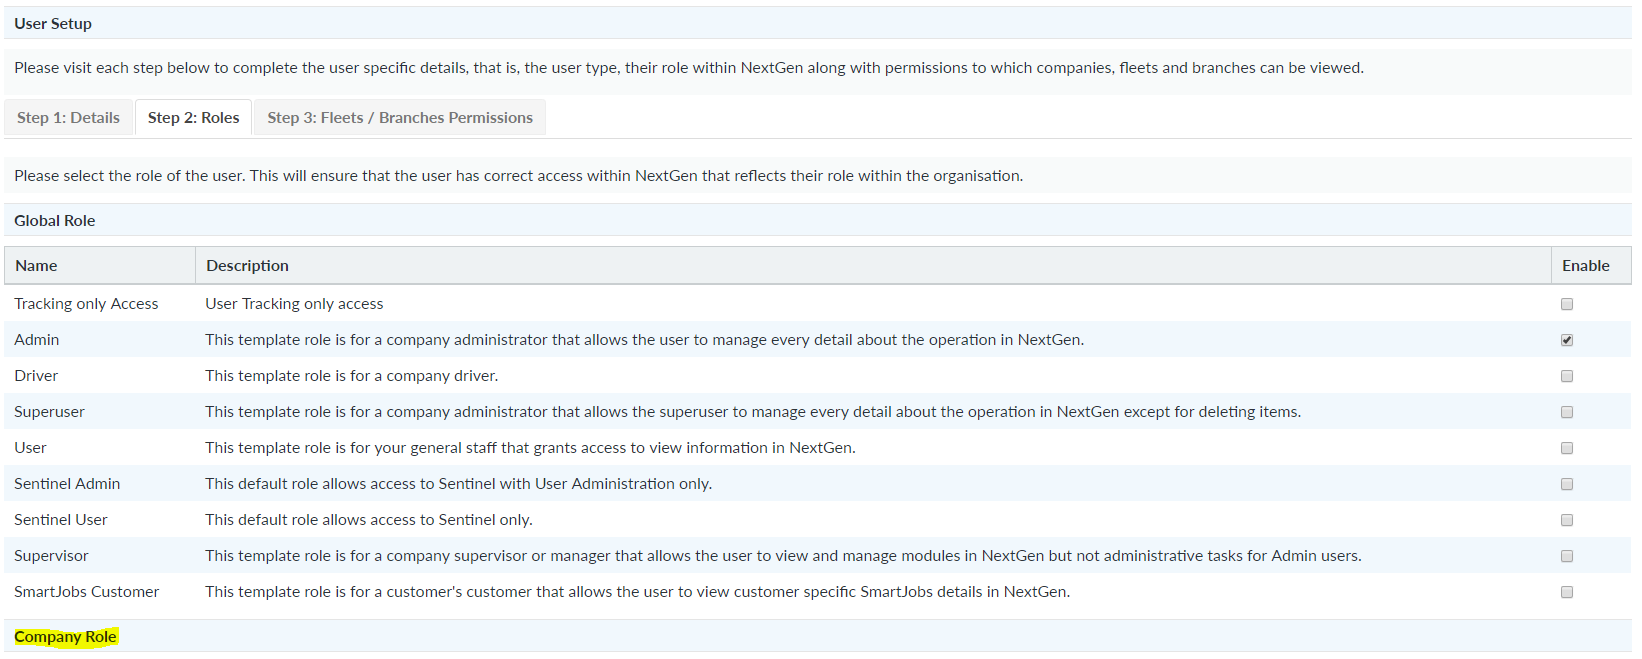
Below is a list of explanations for the different default role templates available in NextGen
| Power Ranking | Role | Description | Example |
| 1 | Admin | Allows the user to manage every detail about the operation in NextGen | Company Owner, Director, Compliance Manager, Depot Manager |
| 2 | Superuser | Allows the user to manage every detail about the operation in NextGen except for deleting items | Same role as "Admin", but unable to delete anything |
| 3 | Supervisor | Allows the user to view and manage modules in NextGen but not administrative tasks for Admin users | Similar to Superuser, without the ability to change company configurations |
| 4 | Sentinel Admin | Allows access to Sentinel with User Administration only | Senior Support staff (i.e logbook checkers) |
| 5 | User | General staff - grants access to view information in NextGen | View only, unable to create, edit or delete. Used for support staff |
| 6 | Sentinel User | Allows access to Sentinel only | Support staff (i.e logbook checkers) |
| 7 | Driver | Company driver | Driver login for iFace or Sentinel Kiosk (driver login via computer, used for yard work etc) |
| Misc | SmartJobs Customer | Customer's customer, which allows user to view customer-specific SmartJobs details in NextGen |
Please note: only Admin users can edit and create roles.
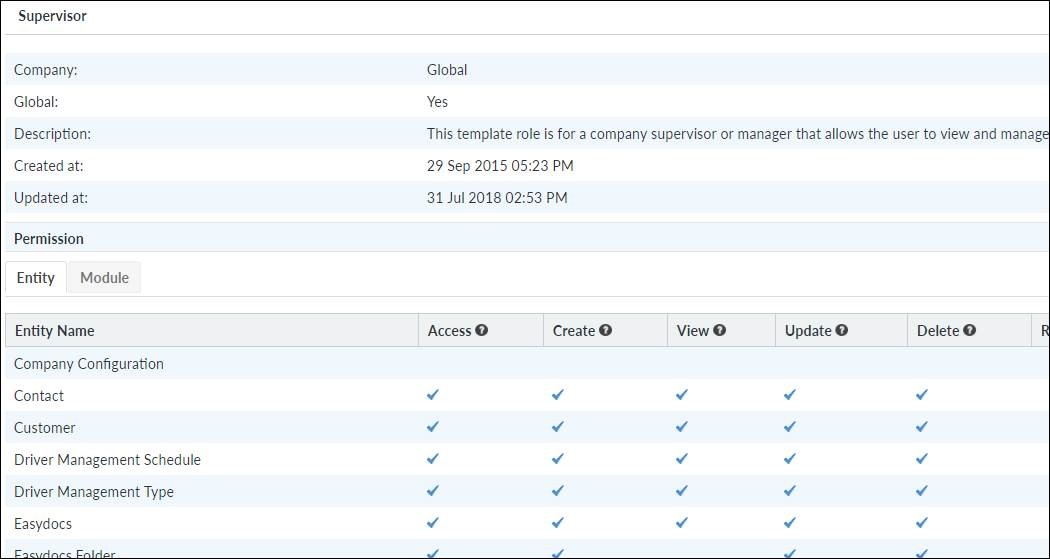
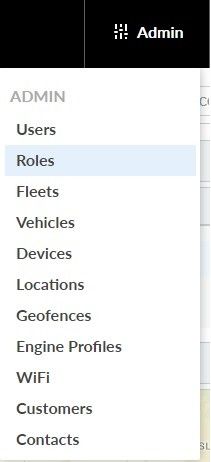
Each role can be viewed in Admin>Roles to see what access, create, edit, delete privileges.
Example:
To create your own role, go to Admin>Roles
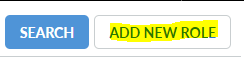
Up the top right corner, choose Add New Role
From here you can name the role and provide a description. Firstly, choose the specific Entities enabled under that role, in addition to the degree of control allocated to the role. To understand these levels of control, hover over the small question mark next to each column title.
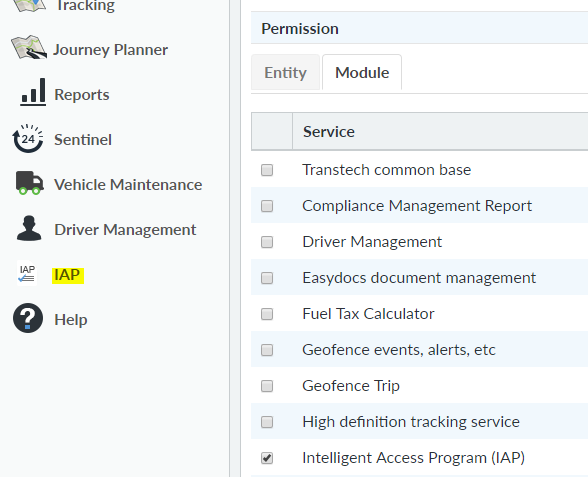
By clicking on the Modules tab, you can choose which physical features will be available to the role - some of these Modules will not apply to you, so just make sure you only choose those relevant to you.
For example, ticking "Intelligent Access Program (IAP)" will enable the IAP declaration portal on the left-hand side of the screen.
To apply this role to a User, choose the User from Admin>Users and press Edit up the top right corner. Halfway down the page you will find User Setup. Select Step 2: Roles, and you will find your custom role under Company Role
Press Update down the bottom of the page.